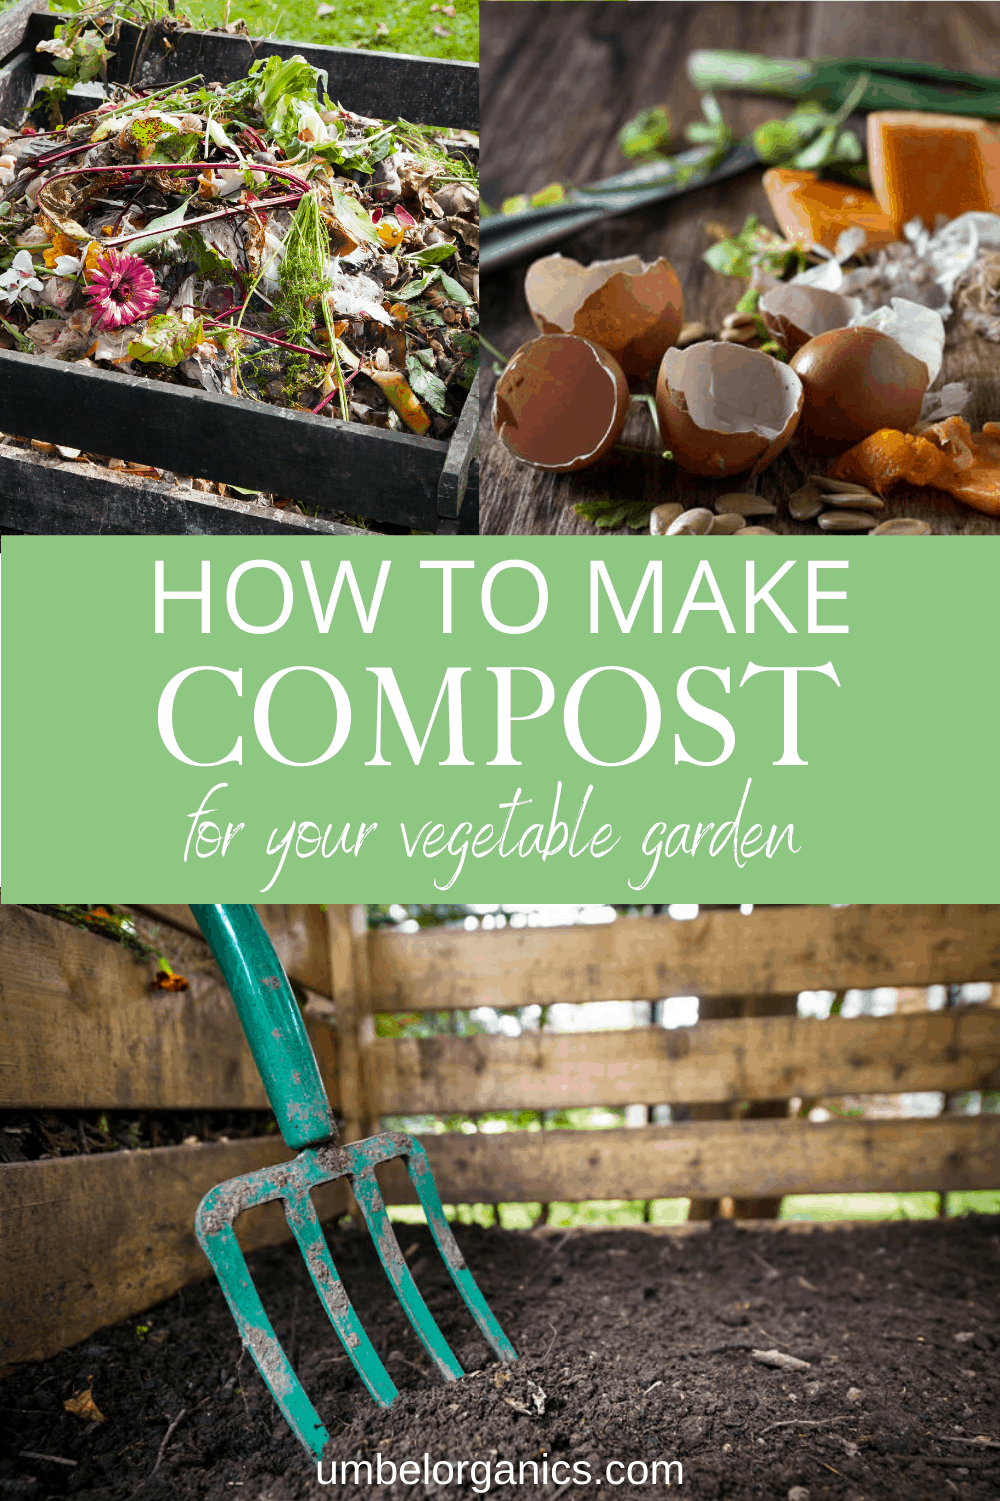
How To Make Compost
Make your own compost with kitchen scraps and yard materials. Compost improves the quality of your garden soil and the overall health of the plants in your garden.
The number one thing you can do to improve the quality of your garden soil is to add COMPOST. How often? At least once a year. Compost is decomposed organic matter, and it benefits your garden in numerous ways:
- Provides organic material that promotes the growth of beneficial bacteria, fungi, and earthworms that make nutrients available to your plants
- Improves drainage in heavy clay soils, and increases water retention in sandy soils
- Helps stabilize soil pH
- Improves the effectiveness of organic fertilizers
- Prevents nutrients from leaching
- Improves resistance to disease
Purchase Or DIY
You can purchase compost in bags from a local nursery or in bulk from a landscape supply store. There are some major disadvantages to purchasing compost:
- It’s expensive if you have a large garden.
- Questionable quality of the product. What materials were used to make the compost? Some compost, particularly manure-based products, are often high in salt, and may not be 100% organic.
If you are purchasing in bulk, don’t be afraid to ask what’s in the compost or if they can provide soil testing results. If they can’t or won’t tell you what’s in their compost, find another supplier. We avoid compost made from biosolids (treated sludge from wastewater treatment plants) because it can contain contaminants that we don’t want in our garden.
Given the uncertainty involved in purchasing compost, we recommend making your own. You almost certainly have access to composting materials, the process is easy, and it feels satisfying to put yard materials and kitchen scraps to good use.
Build Or Buy A Bin
If you want to compost at home, the first step is to purchase or build a composting bin. With the growing popularity of composting, it’s easy to find compost bins at local nurseries or landscape supply centers. One drawback of these containers is that they’re usually not very big, so if you have a large garden they may not provide enough compost.
It’s easy to build your own compost bin. There are lots of plans available on the internet like this one. We recommend building at least two separate bins so that you can always have piles at different stages of decomposition. The best bins are at least 3 X 3 ft and up to 5 X 5 ft.
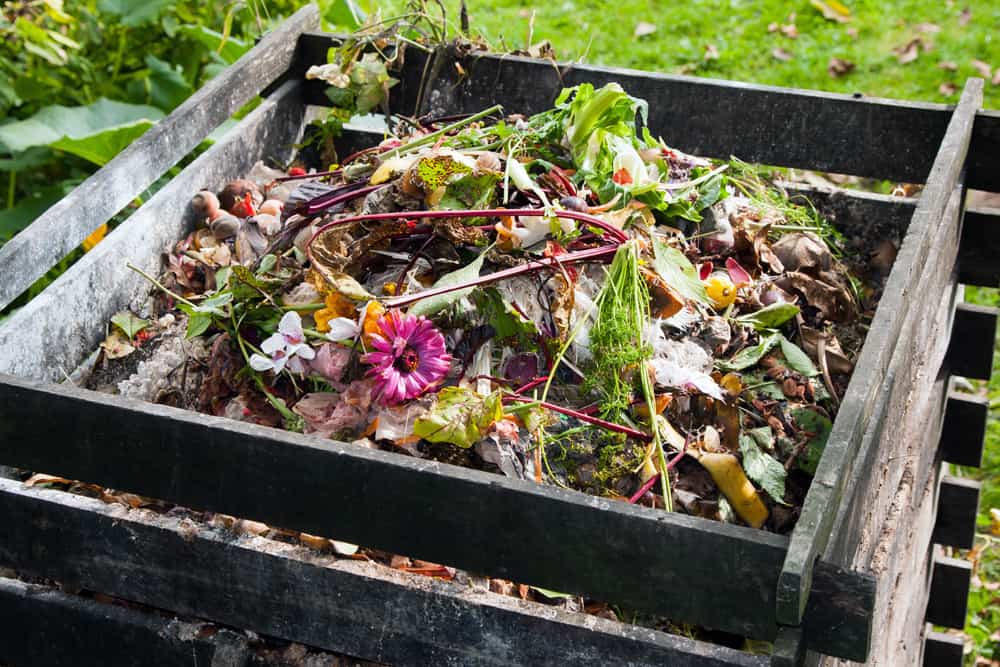
Compost
Compost is made from combining high carbon materials (aka “browns”) with high nitrogen materials (aka “greens”) in a large pile. The combination of browns and greens feeds microbes, which are responsible for the decomposition of materials in your compost pile. You want an approximate ratio of 3 parts browns to 1 part greens. There is some wiggle room here.
- Browns: shredded leaves, straw, cornstalks
- Greens: kitchen scraps, coffee grounds, grass clippings, manure, weeds (make sure they haven’t gone to seed if you are cold composting), egg shells
- NEVER USE: meats, dog or cat waste, treated wood products, grease, cooking oil
You also want to make sure your compost pile stays moist. In the heat of summer, you may need to add supplemental water.
There are two main methods for making compost: Hot Composting and Cold Composting. Each has its benefits and drawbacks.
Hot Composting
In a perfect world we would always build a hot compost pile. Hot composting gets its name because the pile heats up due to the metabolic activity of microorganisms as plant material decomposes. The high heat has several benefits:
- It kills seeds and pathogens. You don’t have to worry about weeds sprouting from your compost or reintroducing plant pathogens into your garden
- Decomposition happens much more quickly. You can have finished compost in as little as 4-6 weeks
- Fewer nutrients are leached from the pile due to rapid decomposition
The challenge of hot composting at home is that it works best if your pile is Built All At Once with the appropriate ratio of browns to greens (~3:1). A large pile is more likely to get hot, so this means you need to have a lot of material available all at once.
You can build your pile by laying alternating layers of brown and green materials. If you don’t have enough green materials, you can add some organic fertilizer that contains nitrogen.
As soon as the pile heats up, start turning it periodically. Otherwise the pile will pack down, blocking oxygen. Oxygen is needed by microbes responsible for decomposition. If your pile starts to smell, this is a sign that it’s lacking oxygen and needs to be turned over.
Turn the pile at least twice a week for the best results. If you have a large pile that gets really hot, you can have finished compost in as little as four to six weeks.
Cold Composting
The reality is that we don’t have all of our composting materials together at once. Our pile is built more slowly over time with the cold composting method. While hot composting is preferable, cold composting still works. It just takes longer and you have to be more selective about what materials you use.
The pile doesn’t get hot enough to kill weed seeds or plant pathogens. Our cold compost piles come together more haphazardly, incorporating brown and green materials as they become available. It usually takes 6-12 months to form finished compost.
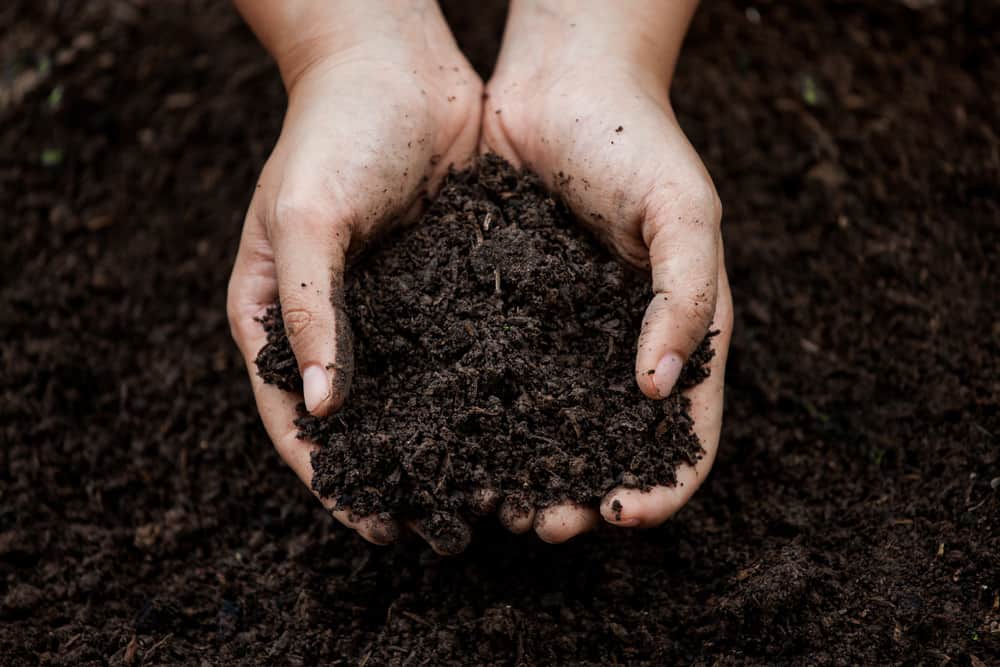
It’s important to recognize signs that your compost is finished. Using unfinished compost in your garden can rob soil of nitrogen needed for plant growth and cause problems with seed germination. There are a few ways to tell if your compost is finished:
- It should be dark, and smell earthy rather than sour or rotten
- None of the plant material should be recognizable, although you can screen out larger materials like corn cobs
If you’ve purchased compost before, you should have a pretty good idea what you’re aiming for. If you’re uncomfortable going by appearance alone there are some quick tests you can use to judge:
- Place a few scoops in a plastic bag for two days. If it starts to smell sour or rotten it is not finished
- Germinate radish seeds in a layer of compost. If you have at least a 75% germination success rate, your compost is good to go
Screen
We “screen” our finished compost before adding it to the garden. Screening removes larger materials that are not finished decomposing. The easiest way to do this is with ¼ – ½” hardware cloth.
You can build a frame around it, or just lay it over a wheelbarrow like we do. We pour the compost over the top and shake it to let materials pass through the hardware cloth. Anything left on top goes back into the pile for more composting.
We try to add compost to our garden beds at least once a year. How much we add depends on what we have available, but we try to add at least 1-2” to each bed and turn it in to the top 6 inches of soil.

More Gardening Inspiration
top 2 images via depositphotos