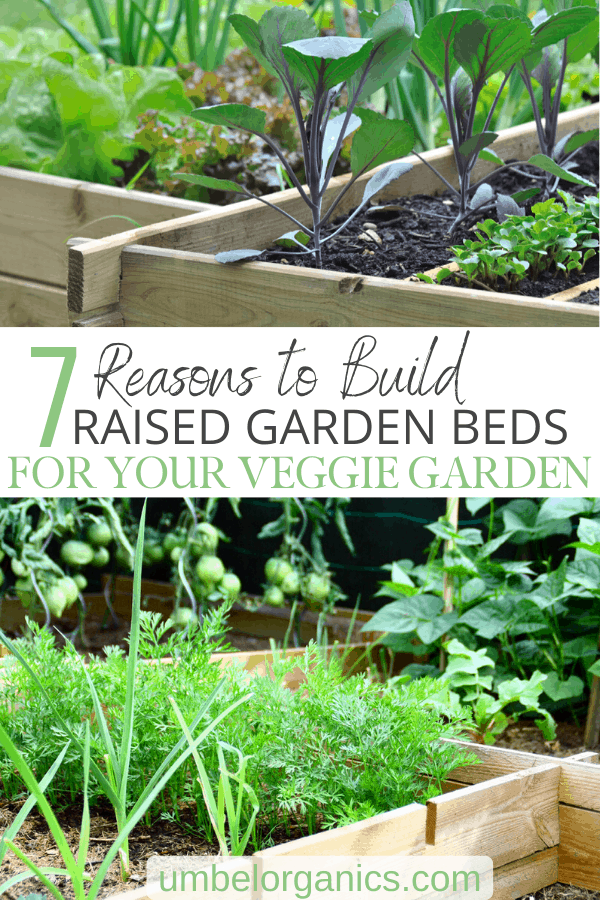
Building Raised Garden Beds
Growing vegetables in raised garden beds has many benefits. From preventing soil erosion to saving your back, raised garden beds are an efficient and effective way to grow your vegetable garden.
Disclosure: Our content contains affiliate links. At no additional cost to you, we’ll receive a commission if you click through and make a purchase.
Having a hillside in our backyard didn’t leave us many options when designing our garden. It was either contain the garden plots in raised beds or watch all the seedlings wash away in a spring storm. So we jumped on the raised garden bed bandwagon and haven’t looked back.
And after ten years, we still love our raised garden beds. If you’re planning a garden and considering using raised beds, we have all the information you need to get started.
Why We Love Raised Garden Beds
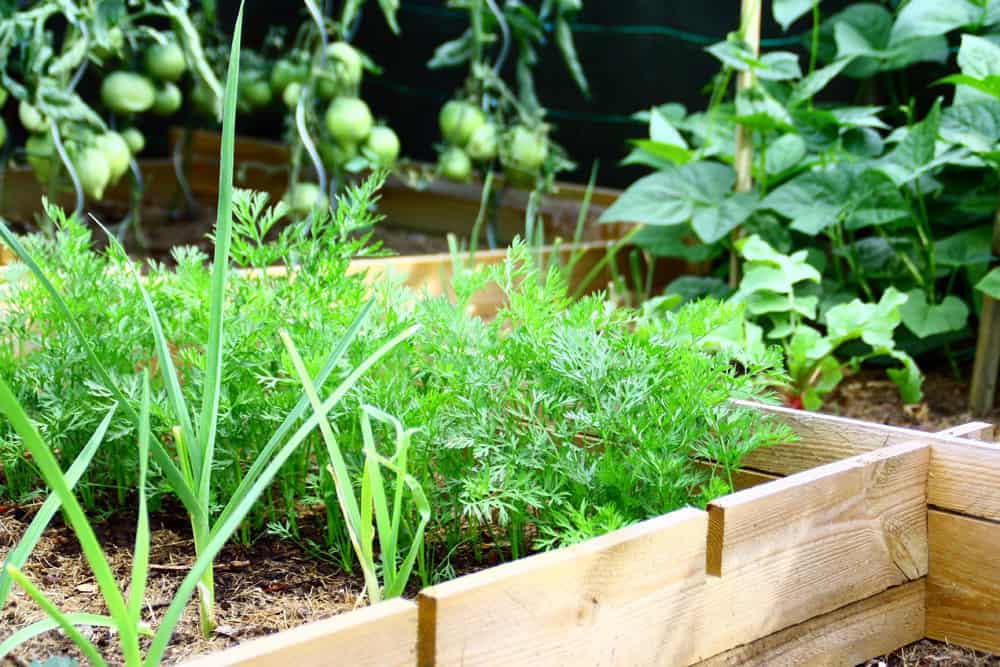
- Protect from erosion and control drainage– The sides of the beds keep the garden soil from eroding and washing away during heavy rains, especially if you plant on a hillside or uneven ground. Raised garden beds also allow you to control drainage by leveling the surface, eliminating pooling of water in uneven areas.
- Short growing season– We live in Colorado and are able to plant earlier in the season because the soil in raised beds warms up quicker in the spring.
- Saving our backs– Raised beds means you don’t have to bend down as far. Jeremy has a bad back and the less he has to bend over, the better.
- Controlling the soil– Rarely will the soil in your yard be perfect for gardening. Raised bed gardening allows you to control the soil composition and health.
- Prevents soil compaction– A big no-no in gardening is soil compaction. You want the soil to have a loose structure to allow for air space. Raised beds are designed to keep foot traffic out.
- Organization– Raised beds contain your plants, giving it some aesthetic appeal. They also keep the yard looking tidy.
- Plant roots have room to grow– Raised beds have open bottoms, so plants with deep roots won’t be restricted. This also gives all the plant roots ample room to grow down.
A Few Cons
- Purchasing all the materials needed to build the beds can be expensive. The more garden space you plan to utilize, the more beds you’ll need, thus increasing the cost of the building supplies.
- There’s labor involved in building the beds.
- We use untreated wood and have to rebuild the beds as they rot (about every 8 years).
- Soil in raised beds can heat up and dry out more quickly.
Materials
Untreated Wood– We use untreated wood for the structure of the raised beds. Untreated wood with rot-resistant properties is recommended so you won’t need to rebuild beds every few years. Rot-resistant varieties of wood include redwood, cedar, Black walnut, cypress, oak, black locust, or osage orange wood. These rot-resistant varieties can last for many years, even under wet and humid conditions.
The biggest issue with purchasing rot-resistant wood is cost. It’s extremely pricey compared with some of the non-rot-resistant varieties of wood like pine. We use spruce for our raised beds, and it lasts about 8 years before starting to break down.
Just remember, all types of untreated wood will need to be replaced at some point. The lifespan of your wood will depend on wood type and your environment. If you treat the wood yourself, use a natural treatment like Garden Seal or Eco Wood Treatment.
Avoid These Materials
Pressure treated lumber is typically treated with alkaline copper quaternary (ACQ) and copper azole (CBA). The concern when using pressure treated wood to build raised garden beds is the leaching of harmful chemicals into the soil near the treated wood. A 2004 study of soil in copper azole treated planters found that copper levels were higher in the soil next to the treated wood and carrot foliage growing in the planter had slightly elevated copper levels.
This article goes into detail on pressure treated wood and available data on leaching of toxic chemicals into the surrounding soil. Although general consensus with the experts points to no major health issues when using pressure treated wood in the garden, we like to err on the safe side and use untreated wood for all of our raised beds.
A few other materials to avoid are railroad ties, composite wood, painted or stained wood and tires. They have the potential to leach chemicals into the soil that are dangerous for human consumption.
Where To Put Raised Beds
For more detail on where to position your raised beds, read our post on How To Plan Your Garden Layout. We discuss what to look for before starting to dig, including keeping raised beds away from utility cables.
Space your garden beds far apart enough for a path between each bed. You’ll need enough space to walk, pivot between beds, bend over and crouch down.
If you plan on keeping grass between the beds, make the space wide enough for a mower to get between the beds. Our raised beds are spaced 24 inches apart, which is just wide enough to fit our mower in between the beds.
Dimensions
One of the most important factors to consider when designing the size of your beds is the width across each bed. Our beds are all 4 feet across (anywhere from 3½ to 4 feet across works). This is ideal for reaching to the center from either side of the bed to plant, harvest and weed. This spacing helps prevent soil compaction since you won’t be stepping inside the beds.
Your raised garden beds can be as short or long lengthwise as your space and wood dimensions dictate. Five of our raised garden beds are 12 feet long, and 5 are 4 feet long. Jeremy used 16 foot boards, so he was able to use 2 pieces of wood for each of the longer beds, cutting each piece at the 4 foot mark for the width and using the 12 foot pieces for the length.
Height of raised garden beds varies from 10 inches to 18 inches, with a maximum of 36 inches. Keep in mind that most plant roots don’t extend more than 6 inches down in the soil.
If bending over is an issue or your underlying soil is unhealthy, then adding more height to your raised beds makes sense. Although the higher you build, the more soil you’ll need. The weight of all that soil puts more pressure on the wood, and the wood can start bowing out if this happens. Since we’re on a hillside, we didn’t need much height, so our raised garden beds are 10 inches high. This works fine for us.
You can find detailed plans on how to build raised garden beds here.
Getting Started
Before building the beds, it’s important to prepare the ground where the beds will sit. If you build beds directly over grass, you’ll have grass growing inside the beds and you’ll be weeding constantly. Remove the grass with a shovel or sod cutter before getting started.
Soil
Once your raised garden beds are built, you’ll need to fill them with soil. Calculate the length, width, and depth of each raised bed in feet. The resulting number will be in cubic feet, and that’s the total amount of soil you’ll need.
When looking for a garden shop that sells landscape material, ask if they can provide you with results from a soil test or analysis. We highly recommend asking so you know exactly what you’re getting.
Avoid soil that contains bio-sludge or biosolids. Bio-sludge soil may be contaminated with pharmaceuticals, may be high in heavy metals and salt, and contains the byproducts of sewage treatment. Personally, we’re turned off by the whole human waste factor involved.
This USGS feature goes into detail on the household chemicals and drugs found in biosolids from wastewater treatment plants.
What To Look For In Topsoil Or Garden Soil
A good, high-quality topsoil will have roughly equal parts sand, silt and clay, and will also contain about 5% organic matter. Organic matter encompasses everything from vegetation to animal products in various stages of decay. Leaves, grass clippings, animal bones and food scraps all fall into this category.
If you’re familiar with compost, it’s made up of organic matter. Again, make sure there are no biosolids in the compost added to your topsoil!
What Do You Know About Your Garden Soil?
We recommend getting a detailed soil lab report of your garden soil that includes pH, salt levels, percentage of organic matter, and levels of important minerals. Soil testing kits that you order from Amazon or buy at garden centers don’t test for salt levels in the soil, and salt can be a real problem for plant growth if it’s above 2.0 mmhos/cm.
We’ve found that the most comprehensive soil testing results come from our local cooperative extension office. Our extension is the Colorado State University Soil, Water, and Plant Testing Lab. Look at the image below to see the results of our most recent soil test. From the results, we see that our pH, phosphorus, boron, and potassium levels are adequate, but our nitrogen is low.
This takes some of the guesswork out of amending the soil, and we have a clear picture of what we need to add to the soil and what we can hold back on. We’ll add a high nitrogen organic fertilizer like bloodmeal to bring up the nitrogen level. Since organic matter in our soil is already above 5%, we won’t need to add additional compost this year.
Look up your local cooperative extension office and send in a soil sample.

More Gardening Inspiration
Photo images via Adobe Stock. All infographic images created by Umbel Organics.