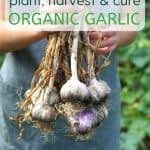
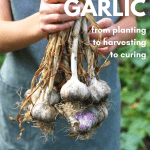
All About Planting, Harvesting & Curing Garden Garlic
Garlic is one of the easiest crops you can grow in your garden. Find out how to plant fall garlic in 5 simple steps and learn the best way to harvest and cure garlic.

Disclosure: This post contains affiliate links, which means if you make a purchase through these links, we may receive a small commission at no extra cost to you.
I never thought I’d be a connoisseur of garlic. But just last night I was sampling slices of garlic bread with different varieties of our garden garlic rubbed on top. Jeremy is on a mission to grow the tastiest varieties of garlic around. He’s constantly doing side-by-side taste tests of different garlic cultivars (that’s where the scientist side of him comes into play). I am definitely not complaining about being a taster, especially when garlic bread is involved!
It’s easy to fall in love with organic, garden-fresh garlic. The kind you buy in the grocery store pales in comparison to the rich, complex flavors you get from home-grown garlic.
And, garlic is an easy, fuss-free crop to grow. Hopefully that’s enough to convince you to grow your own garlic.
Where To Buy Garlic For Planting
Purchase garlic for planting online or from a local garden store, and look for bulbs sold specifically for planting (seed garlic). If you’re replanting your own garlic, select the biggest and best heads from the summer’s harvest. Have your garlic seed ready by late summer/early fall for fall planting.
Garlic “seed” refers to individual cloves from a bulb of garlic. Right before planting, you’ll need to break up the bulb of garlic into individual cloves, making sure to leave the skin intact.
AVOID planting grocery-store garlic. Why? It might not be the right type for your growing season, it may have been treated with a sprout inhibitor to prevent it from growing, and/or you’ll be missing out on all the amazingly tasty cultivars you can find online.
Two Main Types Of Garlic
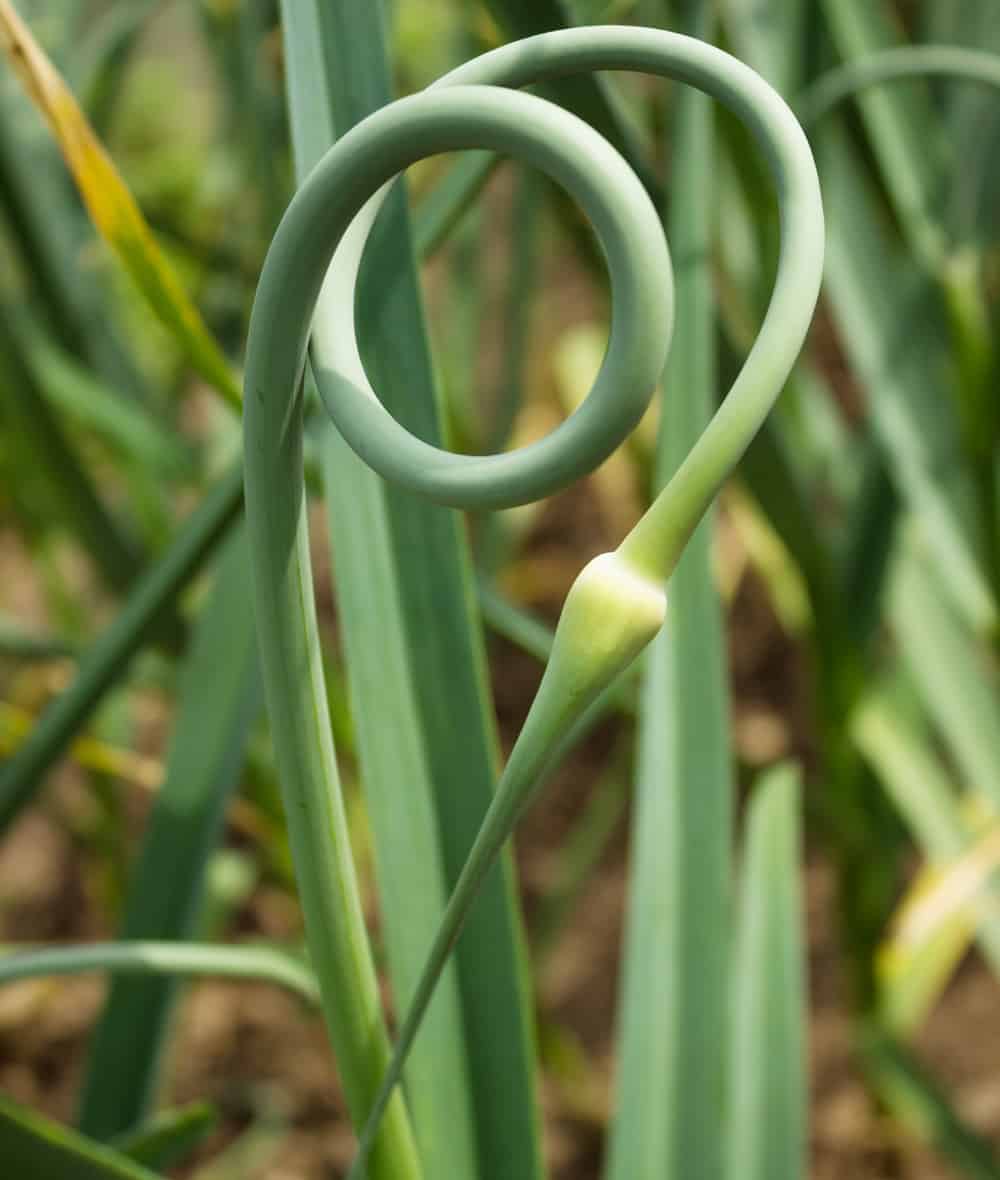
Hardneck garlic is best suited for regions with cold winter climates. Hardneck garlic varieties have a stiff stem that grows up through the center of the bulb. In the spring, the bulb of hardneck varieties sends up a stalk, referred to as the garlic scape. A bonus of growing hardnecks is that the scapes are edible and have a wonderful, mild garlic flavor that can be used for pesto or sprinkled on salads, soups and more. Hardneck garlic has fairly thin skin and doesn’t store well for long periods of time after harvest (4-10 months, depending on variety). The main cultivars of hardneck garlic are as follows:
- Rocamboles- Rocamboles have loose skin and are easy to peel. The bulbs are rather large and typically have 8-12 cloves. Rocamboles have a robust, well-rounded flavor with an undertone of heat. This garlic is excellent raw or roasted.
- Porcelain- Porcelains are easy to peel, and the bulbs can get very big, with 4-6 large cloves per bulb. It grows well in cold climates and is also more successful growing in warmer climates than other hardnecks. This variety stores well and can last into the spring. Porcelains contain the highest allicin (antioxidant-rich compound) content of the hardnecks.
- Purple Stripes- Purple Stripe cultivars are fairly easy to peel and have 8-12 cloves per bulb. They do best in cooler climates with cold winters. Purple Stripes have a strong, complex garlic flavor and are excellent for roasting.
- Marbled Purple Stripes- Marbled Purple Stripes have 5-7 consistently sized cloves per bulb and are known for their dependable growth in the garden and fairly long storage life (six months or more). This variety has a good overall garlic flavor.
- Glazed Purple Stripes- The bulbs are medium-sized with 6-12 large cloves. They store for 6-8 months due to the tight clove skins. They produce a mild heat and have a rich taste, perfect for both raw and cooked recipes.
- Asiatics- Asiatic garlics mature early and don’t always produce a scape. They produce 8-12 medium-sized cloves per bulb and store for 5-6 months. Asiatics have a strong flavor and produce a lot of heat, especially when raw.
- Turbans- Turban is the earliest maturing garlic and produces 6 cloves per bulb. Turbans store for 4-5 months and are quick to sprout. Turbans range from mild to hot and are popular in Southeast Asian cuisine.
- Creoles- Creoles have 8-12 small cloves per bulb which range in color from deep purple to red. Creoles love warm to hot climates and store for 9-10 months. They are well-known in the culinary world to have excellent flavor, with an initial burst of heat followed by a smooth aftertaste. Rose de Lautrec (French pink garlic) is a famous cultivar.
Softneck garlic varieties don’t have a stiff central stalk and do not produce scapes. They tend to have more cloves per bulb than hardneck varieties. Softneck garlic is best suited for regions with mild winters, but we have grown it in Colorado for years and haven’t had any problems. Softneck garlic has a relatively mild flavor compared to hardneck garlic and stores for longer periods of time (6-12 months, depending on variety). The main cultivars of softneck garlic are as follows:
- Artichokes – Artichokes are the most commonly grown commercial garlic, and this is typically the cultivar found in grocery stores.
- Silverskins- Silverskins are the last of the garlic types to mature each season. This cultivar has smaller bulbs than Artichokes and 10 or more cloves per bulb, arranged in multiple layers. Silverskins are known for being hot with a strong garlic flavor, although there is a great range of pungency among cultivars. They store the longest, over 10 months, and can be braided for storage.
Our Favorite Cultivars
We grow both hardneck and softneck varieties in Colorado. Our favorites include Killarney Red, Chesnok Red, Inchelium Red, Music, Spanish Roja, German Red and Chet’s Italian Red.
How Much Should I Order?
For the past few years, we’ve ordered our garlic from Filaree Garlic Farm. According to the garlic experts there, ordering between 1-5 pounds of seed garlic produces enough for the culinary needs of most families. This is a rough estimate, and different varieties produce different bulb sizes and number of cloves. It’s best to read descriptions for the kind of garlic you want and calculate from there, but the amount of garlic your seed produces usually ranges between 4-12 times the amount that you plant. Don’t worry—if you order too much you can always eat the small cloves!
When Should I Plant My Garlic?
The goal is to have the plants establish a strong root system before winter. Planting time will vary depending on what zone you garden in, but you want to get your garlic in the ground about 4-6 weeks before the ground freezes. In our zone 5 garden we plant anywhere from late September to mid-October, although we’ve planted even later with good results.

Steps For Planting Garlic
- Prepare the soil by loosening it to a depth of 6″ and mix in compost and a balanced granular organic fertilizer.
- Before planting, break up the garlic heads into individual cloves. Leave the papery covering on each clove. The size of the bulb you will get at harvest time is directly proportional to the size of the clove you plant. The larger the clove the larger the bulb will be the following summer. Small cloves are best used for eating, as they will not produce large bulbs.
- Plant each clove 2″ deep with the pointy end facing up. Simply push each clove into the soil with your finger or use a hand trowel to dig a small hole for the clove. Cover the holes with dirt and gently tamp down. Put a label next to each cultivar to keep track of what you’re growing. It’s fun to do taste tests after harvesting.
- Water thoroughly before applying mulch.
- Cover the bed with a 4-6″ layer of straw or mulch to protect the garlic from cold temperatures and frost heaves throughout the winter. As the air temperature drops, the soil will stay warm enough for the newly planted cloves to establish roots before the ground freezes. Sometimes you’ll see some green shoots sprout in fall (that’s not a problem and won’t harm plants).
WINTER & SPRING CARE
- As the soil begins to warm in early spring, you can remove some of the mulch to ensure the newly emerging sprouts get adequate sunlight and to warm the soil faster.
- In the spring when garlic plants are experiencing most of their vegetative growth, water as you would any garden green. Add nitrogen (fish emulsion or blood meal) at this stage of growth. You can continue to water the plants about every 8-10 days, making sure not to waterlog the plants.
- Remove Scapes. If you planted hardneck varieties, they’ll probably form scapes. Cut the garlic scape ½” above the top plant leaf when the stalk grows above the rest of the plant and spirals upward. Cutting the garlic scapes at this stage redirects energy to the growing bulb. The scapes are delicious in pestos, salads, soups, stir-fries or sautéed with vegetables.
- Taper off your watering of the garlic plants in early to mid June.
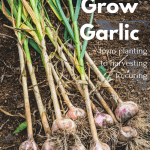
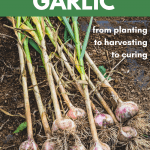
When To Harvest Garlic
Garlic is usually ready to harvest in mid to late July, although this can vary depending on your growing season and location. For hardnecks, harvest when one third to half the leaves growing up from the garlic bulb are brown. Since each green leaf will form a protective papery layer over your cloves, we try to ensure at least four leaves are green at harvest time. There is some leeway in the timing of harvest. If you harvest too soon, the bulbs will be small, but taste will not be affected. If you harvest too late, taste will be unaffected, but the bulbs won’t store well.
For softneck garlic varieties, we follow the same harvesting rules, although if the stalks flop over you know they are ready to harvest.
Harvesting In 4 Simple Steps
- With a hand trowel, loosen the soil around and under the roots. Avoid hitting the bulbs as this will damage the cloves. If we do cut any by mistake, we use it right away.
- Grasp the neck of each plant close to the bulb and pull it out. It should come up easily. Don’t pull the garlic by the leaves or any other part or the top will snap off.
- If the roots won’t budge, try loosening up the soil again and pulling once more. Do this to avoid snapping the bulb off the plant, since it will be more difficult to remove.
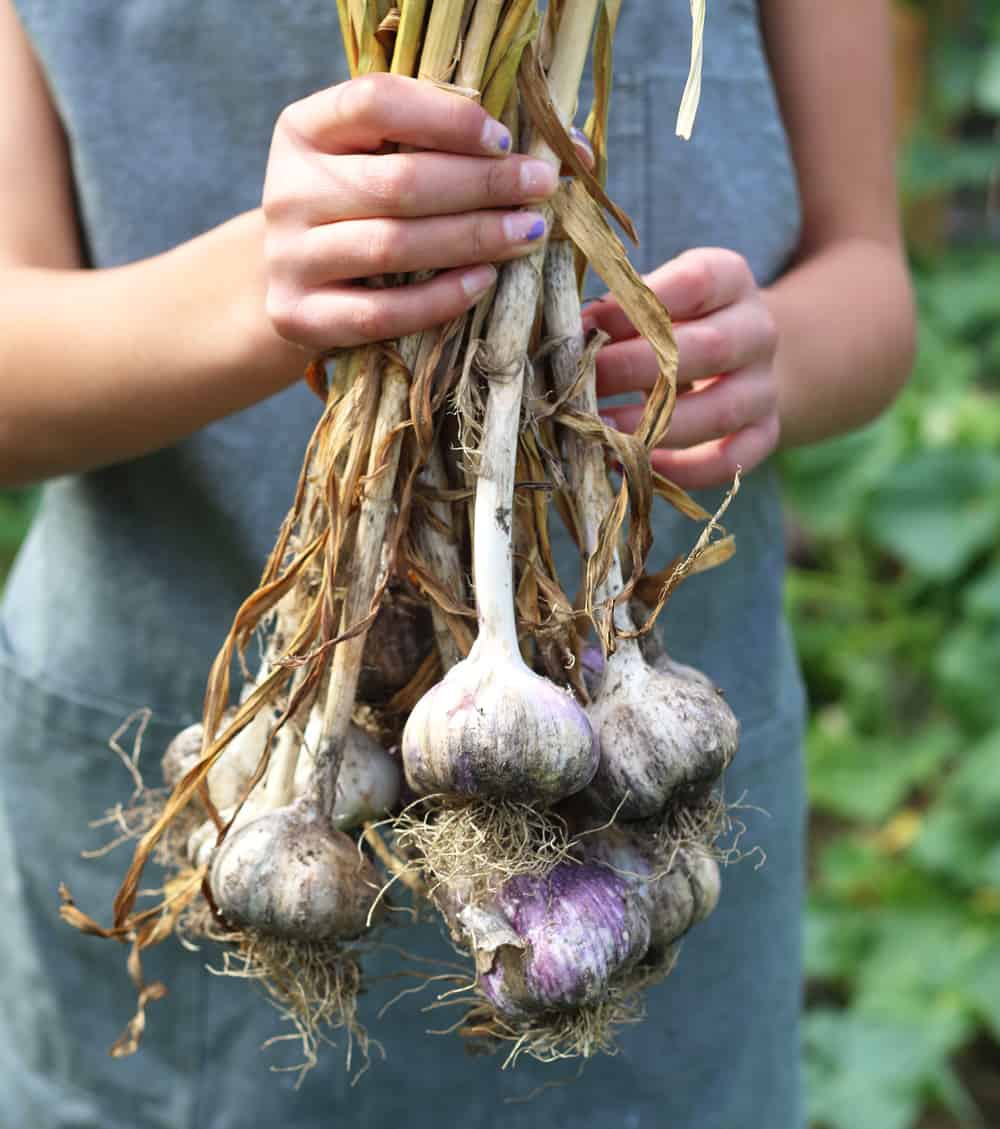
- Once picked, shake off excess mud or dirt. DO NOT WASH THE BULBS OFF WITH WATER AND DO NOT LEAVE THE BULBS OUT IN THE SUN AS YOU WOULD FOR ONIONS.
Curing And Storing
Curing and storing your garlic is important for long term storage. Curing prevents rot and disease from ruining your bulbs. And you’ll get the absolute best flavor from your garlic.
We actually start eating our garlic right after it’s pulled. There’s no way to resist eating it immediately. However, we plant a lot of garlic and store the excess so we can enjoy it throughout the winter, spring, and early summer months.
Steps To Cure Garlic
- Separate the hardneck and softneck varieties. Softneck cultivars store better long-term, so it’s important to enjoy the hardneck varieties first.
- Brush off any excess dirt and keep the leaves and roots intact.
- Store the garlic out of direct sunlight in a cool (but not freezing & not in the fridge), dry location with good air circulation until cured. We place all our garlic on paper bags on a basement shelf. You can also hang it in bunches or store it in crates.
- Curing can take anywhere from 2- 6 weeks. Check the garlic every few days. Once the paper-like skin starts to peel away and the cloves still feel firm, the garlic is ready for storage. At this point, all the green parts of the plant attached to the bulb will have dried completely and turned brown.
- Cut off the leaves and stalk, keeping at least one inch of stem attached to each bulb. This helps protect the skin layers from cracking or peeling. Trim the roots with kitchen scissors and use a toothbrush or stiff paintbrush to gently remove any dirt still stuck to the bulb. You want to keep the protective skin intact.
- Put the garlic bulbs in mesh bags and store in a cool, dry spot until ready to use. As with curing, we store our garlic in the basement. Keep hardneck and softneck varieties in separate bags and label the bags. Use up the hardneck garlic first since it doesn’t store for as long as the softneck varieties.
