
Extend Your Season And Grow The Best Tomatoes
Plant your tomato plants outside weeks before the last frost with Wall O’ Water plant protectors. It’s the best way to extend your growing season for tomato plants.
Disclosure: Our content contains affiliate links for products we use and love. At no additional cost to you, we’ll receive a commission if you click through and make a purchase.
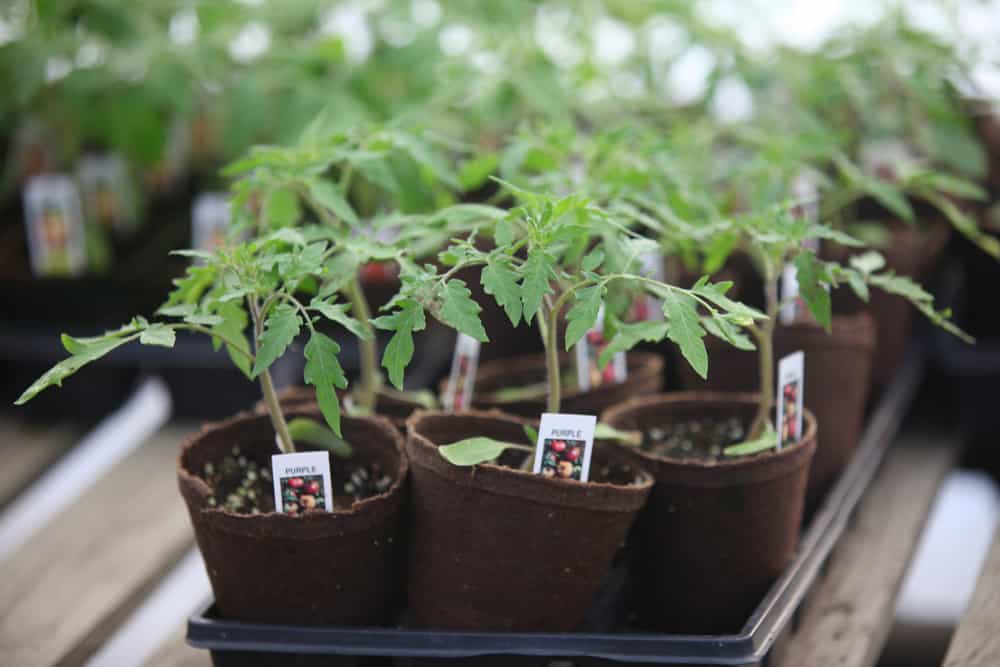
We love growing and eating heirloom tomatoes. The problem is that they take a long time to harvest, and in Colorado we have a short growing season. That’s where Wall O’ Waters come in. These ingenious plant protectors allow you to plant tomatoes outside weeks before your last frost.
With Wall O’ Waters we get an extended harvest time and are able to plant varieties that take longer to mature, including some of the best tasting tomato varieties. Like tomato plants, pepper plants have a long number of days to maturity, and Wall O’ Waters also work well for protecting pepper plants as they grow.
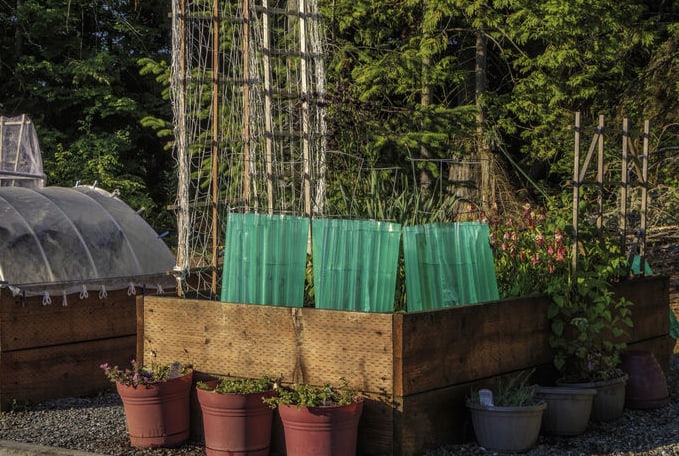
Wall O’ Waters protect plants down to 24°F. We’ve had times when the garden was covered in a blanket of snow and the tomato plants were more than content within the cozy confines of the Wall O’ Waters. We plant our tomatoes about 2 weeks before the last frost date, but you can plant as early as 4-6 weeks before your last frost date if necessary.
Not only do plants get an extra few weeks of growth, they also just grow faster when protected from the elements. We don’t have to worry about damage during frequent Colorado hail storms. While Wall O’ Waters aren’t cheap if you’re growing a lot of tomato plants, we’ve been able to reuse them for up to 8 years without replacing. They’re well worth the investment!
When It’s Time To Plant Tomatoes, Follow These Ten Steps
- When the tomato plants are still in the pots, water with an organic fertilizer solution derived from fish meal or kelp until the soil is moist but not completely saturated.
- Remove all lateral branches leaving only the top set of leaves. To do this, pinch each branch between your fingers at the point of attachment to the main stem.
- Dig a trench that is large enough that you will be able to lay the plant on its side in the planting hole. Add a handful of compost and some granular organic tomato fertilizer and mix into the soil.
- Place your hand over the top of the pot and turn it upside down. The stem should be cradled by your fingers so you can catch the plant. You may need to squeeze the sides of the pot and twist. The plant should come out cleanly with the root ball intact.
- Lay the plant on its side in the trench. Gently curve the stem and cover the stem with soil. Water deeply and firm up the soil. Refer to the How To Plant Tomatoes In A Trench infographic at the end of this post.
- Place a 5 gallon bucket over one of your tomato plants. The bucket provides support as you fill up the Wall O’ Waters. Make sure the bucket handle is positioned upward, not under the bucket.
- Place a Wall O’ Water around the bucket. The Wall O’ Water is like a tubular sleeve that’s open at both ends. The top of the Wall O’ Water has open cylinders, so make sure this side is facing up since you will be filling each cylinder with water. The bucket handle should still be in an upward facing position.
- Fill each cylinder about 2/3 full with water. You’ll notice the Wall O’ Water take on a teepee shape. Once all the cylinders are 2/3 full, carefully remove the bucket, holding the handle up so it doesn’t knock over the Wall O’ Water.
- When the plants reach a height of 18”, fill each cylinder of the Wall O’ Water completely full. The Wall O’ Water is now fully expanded at the top.
- Once the height of the tomato plant reaches the top of the Wall O’ Water, it’s time to remove the Wall O’ Water.


More Gardening Inspiration
images via Adobe Stock