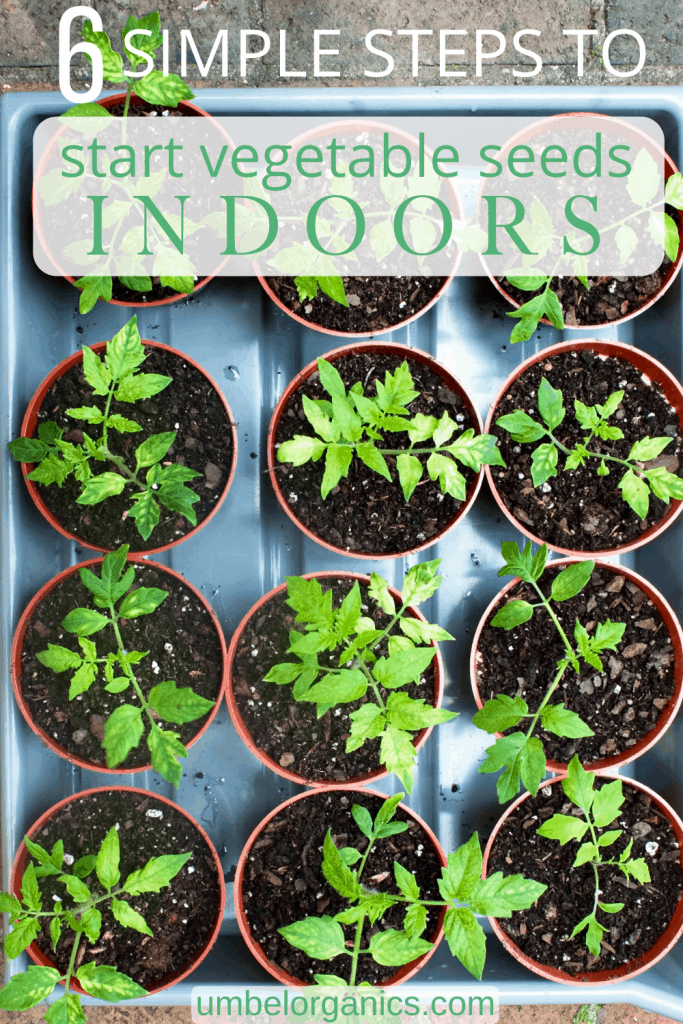
How To Start Seeds Indoors
Get ahead of your growing season and start growing your vegetable seeds indoors. Not only does starting seeds indoors extend your growing season, it’s cost effective and offers a wide range of seed varieties to choose from.
Disclosure: This post contains affiliate links, which means if you make a purchase through these links, we may receive a small commission at no extra cost to you.
Here in Colorado, we need to start seeds for some crops indoors to get ahead of the growing season. We grow most of our plants from seed, and although we’ll occasionally buy a plant here or there, we’ve found that starting from seed is the way to go. It’s much more cost effective, since a whole packet of seeds costs less than one plant from the nursery. We also love variety, and buying seed packets offers way more delicious choices than picking plants from your nursery.
WHAT PLANTS TO START INDOORS
Unless you have a really long growing season, the following crops should always be started indoors:
- Tomatoes (6-8 weeks before planting time; transplant to garden after last frost date)
- Peppers (8-10 weeks before planting time; transplant to garden after last frost date)
- Eggplants (8-10 weeks before planting time; transplant to garden after last frost date)
- Herbs, such as basil, oregano and thyme (6-8 weeks before planting time; transplant after last frost date). Herbs can also be direct seeded, but since it takes quite a while to get a large enough plant to start harvesting leaves, we recommend starting indoors.
- Broccoli, Cauliflower, Cabbage, and Brussels sprouts (4-8 weeks before planting time; transplant to garden 4 weeks before last frost date). These brassica plants can also be direct seeded into the garden in June for a fall crop.
These crops can be started indoors or outdoors, but will typically do well direct seeded into the garden. Given the space and time constraints involved in growing indoors, we usually direct seed them into the garden but you can get a jump on the season by starting them indoors:
- lettuce
- spinach
- Asian greens
- Swiss chard
- kale
- kohlrabi
- peas
- carrots
- beets
- beans
- radishes
These crops do not transplant well, and will typically do better if direct seeded into the garden (Plant Outdoors):
- Squash
- cucumber
- melon
We put a handy guideline of when and where to plant your seeds at the end of this post.
Seed Starting
What You’ll Need
Gather up all your seed packets and check the back for planting instructions.
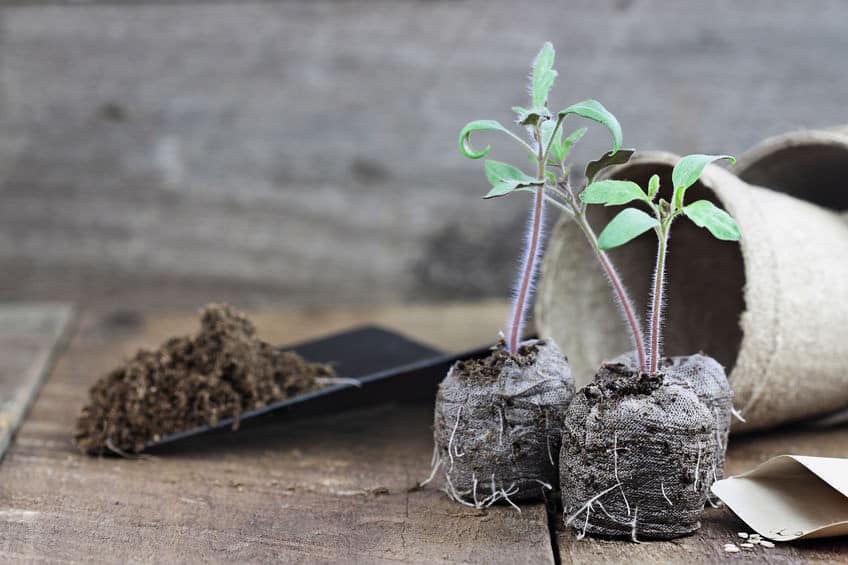
You need a good seed starting mix to start your seeds indoors. Rather than deal with the hassle and mess of distributing the mix into seed trays, we use Jiffy Peat Pellets mini greenhouses, which come with both seed starting trays and compressed Jiffy Peat Pellets. You simply add water to the pellet, and it expands into a small pot for germinating seeds. When we first started using these, we were worried that the fabric around the pellet would hinder root growth. But, after years of experimenting there seem to be no ill effects—the roots grow right through the fabric without a problem. Not only do peat pellets make germinating seeds a breeze, they also make it easier when it comes time to pot your seedlings up.
If you prefer to distribute seed starting mix into seed trays yourself be sure to purchase a mix specifically formulated for starting seeds rather than potting soil. What’s the difference? Seed starting mix has a finer texture and is sterile, which aids in preventing diseases that can infect germinating seeds. And unlike many types of potting soil, seed starting mix does NOT usually contain nutrients. You’d think seedlings need supplemental nutrients right away, but they actually don’t. For the first few weeks of life, seedlings draw all the nutrients they need from the cotyledons (“seed leaves”), which are the first bits of green that poke through the soil upon germination. By the time they need some additional food, you’ll be ready to pot them up into larger containers with potting soil. Whatever method you choose for starting your seeds, do not be tempted to use garden soil. Not only are you asking for disease problems, but seed starting and potting mixes are formulated for optimal water retention and drainage, which you will not get from garden soil.
Steps To Starting Seeds Indoors
1. Germinate Your Seeds
If you check the back of your seed packet, it will instruct you on the proper planting depth for each variety. We take a relaxed approach to the instructions here, planting all the seeds at about the same depth. We make a small divet, about 1 cm deep, and drop in 2-3 seeds. If you want to follow directions exactly from the back of the packet, go for it! Once we have our seeds in the divets, we cover them lightly with seed starting mix and press down gently.
Seeds will germinate more quickly in warm temperatures. A good rule of thumb is 65°F to 75°F for most seedling germination. You can purchase heat mats specifically designed for seed starting. These can be pricey though, and you can achieve the same effect by placing your seed trays on any surface that heats up a little bit. Check the top of your fridge, and if it gets warm, this works well. We put our seed starting trays on top of the fridge. If you have to start your seeds at room temperature, don’t panic. It may just take a few extra days for the seeds to germinate. If you’re forced to start seeds in a cool area, like a basement, then it’s worth investing in heat mats.
Germination also requires moisture. To retain moisture, we keep the clear plastic coverings from the seed trays on top of the trays until we see green emerging. You don’t need them after this stage. Peat pellets are excellent at holding moisture and we find that we rarely, if ever, need to water them during the germination stage as long as the plastic cover is on. Without the plastic cover they dry out more quickly, so be sure to check periodically. Most seeds do not require light to germinate, but some seeds, like lettuce, do. The light does not need to be intense—just barely cover the seeds with peat and expose to natural light in a room with a window.
How long should germination take?
It depends on the type of plant and the temperature. Warmth will speed up the process considerably. Tomato seeds will germinate in about 6 days at 77°F, but it will take about 14 days at 59°F. From our experience, tomato seeds take about 4-7 days to sprout when seed trays are placed on top of the fridge for added warmth. Rapid germinators like brassicas take only 3-4 days.
Check out our optimal soil temperature for seed germination chart at the end of this post, based on this chart.
Tip: We’ve noticed that if peat pellets are placed in adjacent cells they will be so close together that once the roots break through the fabric, roots from one pot will sometimes grow into another pot. This is not ideal since roots will have to be broken to separate the plants when you are ready to pot-up. Root breakage can set the plants back a bit. We now always place the peat pellets in every other cell so they don’t grow into each other.
2. Supply the right amount of light
Don’t underestimate the power of light! The number one mistake new gardeners make when starting seeds is not providing enough light. While it might be possible to grow seedlings in a south facing window, you will have the most success by providing artificial light. Plants that don’t get enough light stretch upwards, becoming “leggy.” Leggy plants are weak and unhealthy, and will have a difficult time transitioning to the garden.
What type of lights should I use?
You can spend a few extra dollars on grow lights, but LED shop lights or fluorescent lights work well too and are less expensive. We recommend using four bulbs per shelf because it spreads the light over a larger area. We also use fixtures with adjustable chains to easily adjust the height as the plants grow. We attach the lights to a wire shelving system.
When should I put seedlings under lights?
When you see the first bit of green pop through the soil, it’s time to get your seedlings under lights. Once you see that first seedling emerge, remove the plastic cover and place the whole tray under lights.
Place the seed tray an inch or two below the light source (seriously, that close!) and keep the light on for about 16-18 hours a day. An outlet timer is helpful. As plants grow, use the adjustable chains to ensure the lights remain 1-3” above the plants. Remember, a short, stalky plant beats a tall spindly one any day. If for some reason you can’t use artificial lights, place the seedling trays near a sunny, south facing window during the day in direct light for at least 8 hours.
Tip: Sometimes your seedlings will grow at different heights, and adjusting the height of your lights will benefit only the taller plants. There are two workarounds that will provide even light to both shorter and longer seedlings.
Group the taller plants in one side of the tray, and the shorter plants together in the other side. Adjust the length of the chain on the lights so the taller plants have a shorter length of chain and the shorter plants have a longer length of chain.
Another option is to put a few books under the shorter seedlings to even out the height.
3. Seedlings Need Moisture
We bottom water the seedlings, pouring room temperature water to fill the bottom of the seed tray. The water will wick up each peat pellet. This is an easy and efficient way to water a bunch of seedlings all at once. When the tops of the soil start to dry out, we bottom water again.
The soil should be slightly dry in between watering, and the soil will be lighter in color once it starts drying out. Too much moisture causes mold, so we make sure not to overwater. Aim for damp but not completely saturated. We may go 2-3 days between watering depending on the temperature in our house as well as how big our seedlings are.
4. Thin Your Seedlings
Since you’ve planted more than one seed per pot, you’ll usually have more than one seedling emerge. Once plants have one set of true leaves, Use Scissors to snip any weak or overcrowded seedlings. Snip the stem at the soil line so that you have only one seedling left per pot.
If you can’t bring yourself to snip your plants, or you don’t have enough, separate the seedlings and transfer to new cells. This may damage the root systems—the plants will most likely recover, but it may set them back a bit.
5. Repot Your Seedlings
Once the seedlings emerge, you’ve still got several weeks before they’re ready for the garden. Limiting the root system can stunt plant growth, so transplant the seedlings to bigger pots (“potting-up”) to give the roots more room to spread.
How do you know when to pot-up?
Once your plants have at least 2-4 true leaves (not counting the cotyledons) they are ready to be re-potted into larger containers. Sometimes we do it even earlier, especially if there are a lot of roots poking through the fabric of the peat pot and they’re starting to dehydrate. There is flexibility here, but it’s better to pot-up too early rather than too late.
The choice of pot is important. You want something as deep as possible to permit healthy root growth. We use 16 oz plastic Dixie cups—they’re cheap and work really well. You can disinfect them after use and they will last for multiple seasons. We poke a drainage hole in the bottom of each cup. Any deep container with drainage holes will work, though we’re personally not fans of peat pots (NOT to be confused with peat pellets). From experience they do not break down rapidly enough in the soil and can inhibit root growth.
Fill each pot or cup about ¾ full with potting soil. Add some water and tamp down to eliminate air pockets. Place the entire peat pellet (with fabric) into the soil and fill in with potting soil, just slightly covering the peat pellet. If the plant is a little leggy, bury some of the stem to stabilize it.
When potting up tomatoes, you always want to bury the stem because all of the little hairs on the stem will develop into roots.
We use a good organic potting mix that has some nutrients, and we often don’t have to fertilize at all until transplanting to the garden. It’s easy to over-do it with fertilizer on young plants. Slow release organic amendments in the potting soil are ideal.
If you do need to add additional fertilizer as your plants get older (e.g. if your plants leaves are yellowing), we recommend an organic fertilizer derived from kelp or fish emulsion. We dilute it to half the normal concentration. Eventually the cotyledons will turn yellow and fall off—this is completely normal and does not indicate a nutrient deficiency.
6. Harden Off Your Plants
Plants grown indoors take some time to adjust to the harsh sun, wind, and temperature swings in your garden. A few weeks before planting time you can help get them ready by blowing a fan on the plant for a few hours a day. You may need to water more often. This is a great way to prepare plants for the outdoors, but not absolutely necessary. In fact, most years we don’t get around to it.
About 7-10 days prior to planting time, start acclimating your plants to the outdoors by setting them outside each day. We usually leave them out in a partially shaded spot for an hour or two on the first day. We increase the sun exposure and the amount of time the plants are left outside each day. Work up to leaving them out for the entire day and overnight. While this process would ideally be carried out over the course of at least a week or more, we have often done it over 3-4 days without ill effects.
Don’t expose the plants to too much sun on the first day or two. We have severely damaged forgotten plants while attempting to harden them off in the intense Colorado sun.
The soil will dry out quickly in small pots, so you may have to water multiple times a day. Since this is a stressful time for plants, we give them some organic fertilizer during the hardening off period as well.
Before you start, read through our seedling troubleshooting guide to make sure you’re doing everything right for healthy seedling growth.
Shop Seed Starting Essentials


More Gardening Inspiration
Photo images via Adobe Stock. All infographic images created by Umbel Organics.